Multisensory techniques for teaching reading
What is multisensory teaching?
Multisensory teaching is a way of teaching that uses more than one sense at a time. Using sight, hearing, movement, and touch gives children more than one way to connect with what they are learning. Multisensory learning can support children and adults in their learning, particularly those who struggle with their reading and maths development. Carry on reading to learn how to use multisensory teaching to support reading development.
Create a master list of tricky words
A master list should be kept of all the words the child has difficulty reading or spelling. Two words should be selected to work on each day and no more. The techniques described below should be used to practice these words. At the conclusion of the learning stage the child should be asked to read the word and to spell it when shown to him on a card. They should be tested the next day, after one week, two weeks and a month and at that point if they have been correct at every stage the word will have become high frequency. It can then be pinned on to a notice board where friends and relatives can see it and the child can show off their newly acquired reading and spelling skills to receive some well deserved praise.
Sensory writing
A selection of trays should be purchased, along with play/coloured sand, shaving foam and dry ingredients such as rice, lentils, beans, etc. Some magnetic plastic letters, a scratchy chalk board and chalk, some plasticine and a large squeaky non-permanent felt tip should also be purchased.
The first word is selected and the child should write this word in the sensory trays with their finger. This allows children to use sight, touch and sound to make a link between the letter shape and the sound it makes. The child should say each letter sound as they write it, and then say the finished word at the end by blending together each sound.
Air and board writing
Next, the child should write the word in the air using their fingers and use chalk and/or a dry wipe marker to write down the words. There are many other ways to write the word to keep the session interesting, such as typing the word, running/walking the shape of the word or using legs/arms to trace the shape of the word.
Magnetic letters for word building
The child can then make the word with magnetic letters. The child should say each letter sound as they lay down the magnet, and then they can blend the sounds together to form the whole word at the end.
Plasticine writing
If further support is needed to help the child link each sound to the letter, they can make each letter with plasticine.
Sandpaper letters
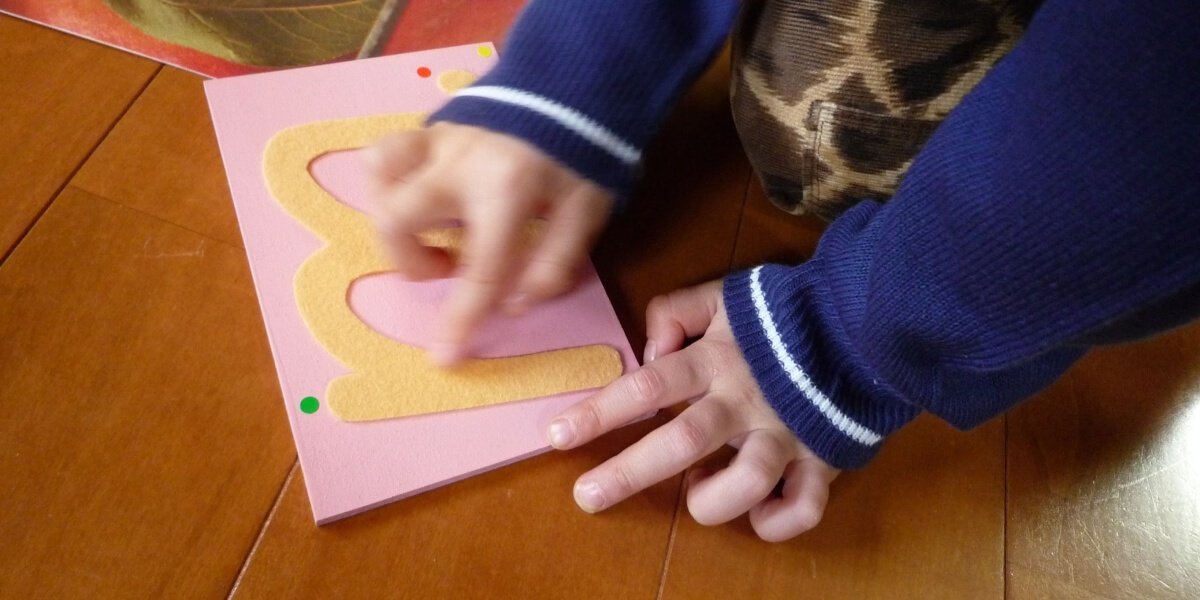
Letters cut out of sandpaper can help children hold on to tactile (touch) memory of letters and their sounds. The child should trace each letter with their finger while saying the sound of the letter out loud. They can feel the shape of the letters as they write.
Kids can also arrange sandpaper letters on a table to spell out words. They can then lay a piece of paper on top of the sandpaper letters and colour over the letters to create a rubbing. Again they should repeatedly say the letter sound of the letter they are focussing on, and blend them together at the end.
Read it, build it, write it
This technique requires the child to have a piece of paper with three boxes on it, labelled “Read,” “Build,” and “Write.” They also have cards with the words they are focussing on learning, magnetic letters, and a felt-tip pen. The child first reads the sight word that’s in the “Read” box together with the person supporting them. Then they should build the word in the “Build” box, using their letters. Finally, the child should practice writing the word in the “Write” box.
Tapping sounds and using poppits for sounds
Tapping or pushing down a bubble on a poppit toy gives children a feel for how sounds are segmented and blended to make words. The child should tap their fingers or push down the bubble on a poppit for each sound in the word they are focussing on, and then blend the sounds together at the end.


